Create an account
From Awesome Baozam
Create an account
- Follow the link: www.baozam.net
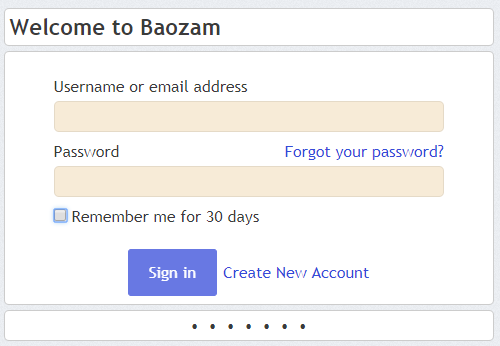
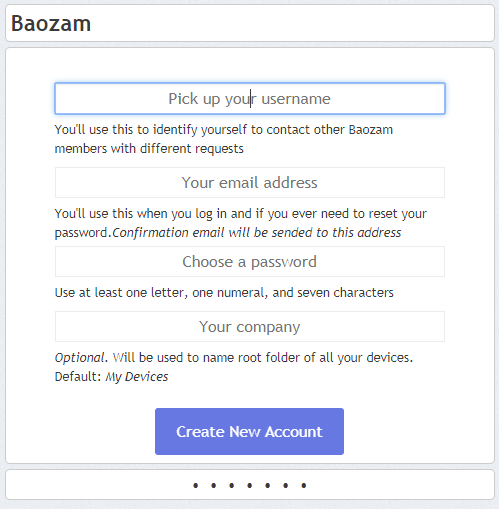
- If you have not been logged before, an invitation to log in will appear on the screen. If you want to create a new account press „Create New Account” button. The following form appears.
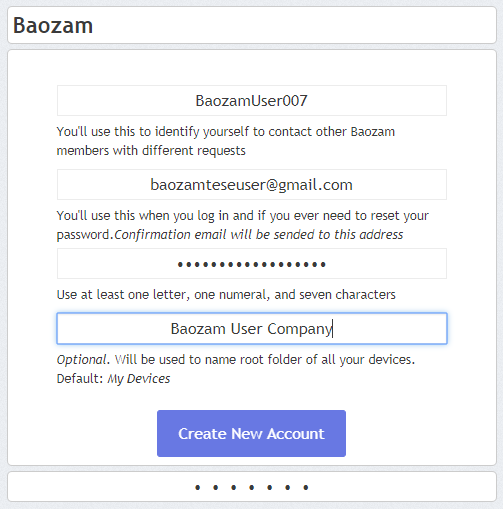
- Fill the fields of this form with your User name (any name which you'll use in the future to log in into Baozam), your valid e-mail address (will be used for account activation and service messaging. Also you can use it instead of User name while logging in), password (must contain at least 7 symbols including at least one letter and one numeral) and optional Company Name (will be used as a group identifier for your devices). Press „Create New Account”
- Example:
- If you'll try to pick already existing User name, use already existing e-mail address or type illegal (in terms of strength) password, you'll be warned by Baozam. In this case fill the form anew and submit it again.
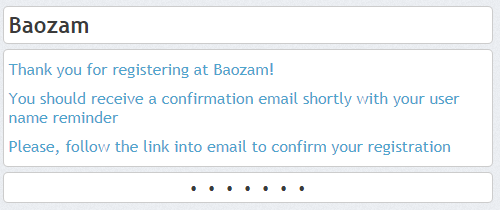
- After successfull filling the form the following prompt appears.
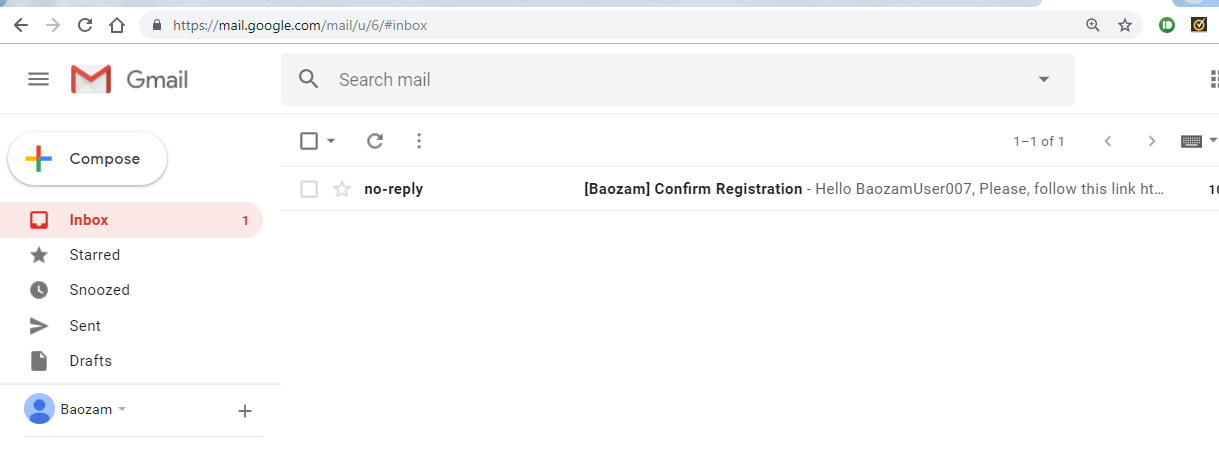
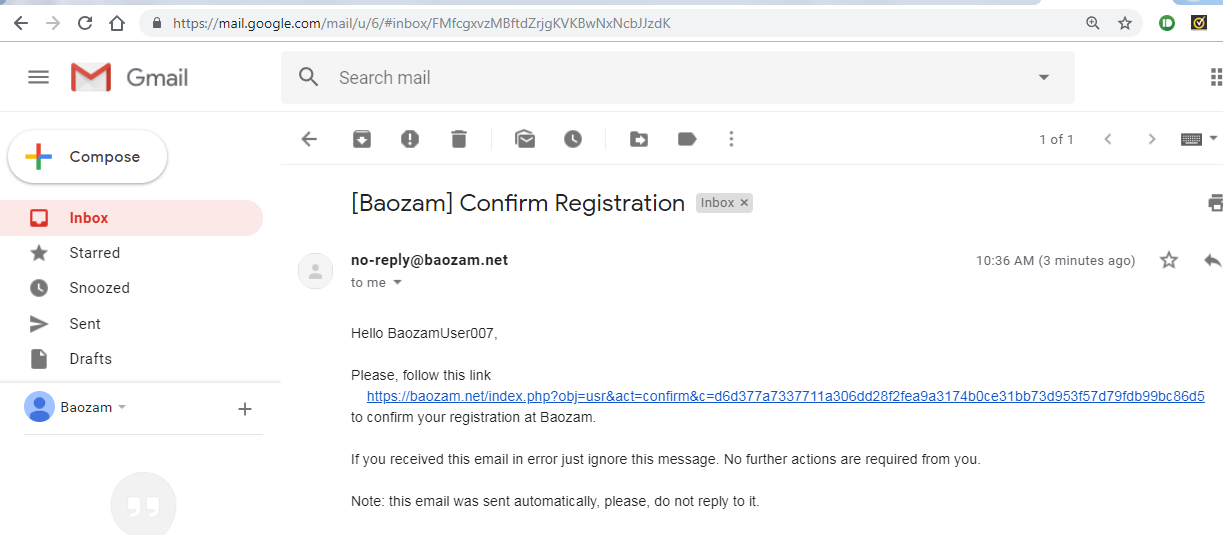
- Check the email you provided when filling out the registration form. You should receive an email with a link to activate your account. In some cases, the letter may arrive within 10-15 minutes or be placed in the spam folder.
- Follow the link you received.
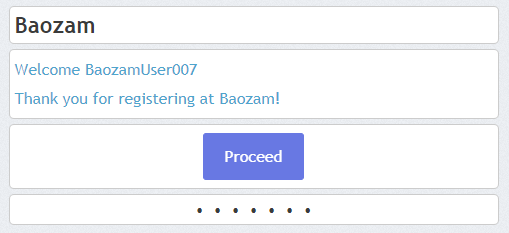
- Congratulations! You just signed up for Baozam.net.
- Initially you have no linked devices and your dashboard looks like
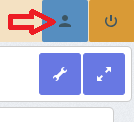
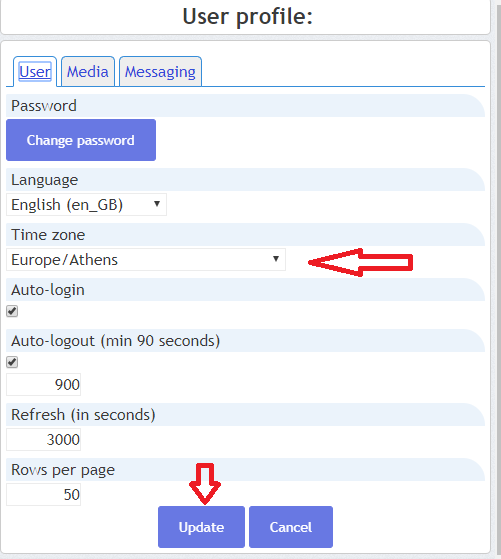
- To complete settings please specify your tome zone. All baozam devices use UTC+0 timezone. If you'll use some baozam devices in future their data timestamps will be recalculated using your time zone. Press Account settings button (top-right part of screen) then choose your time zone from drop-down list and press „Update” button.
